If you’ve ever faced the unsightly challenge of urine stains on grout around the toilet, you’re not alone. I have had my fair share of battles with bathroom stains, and I’m here to share some battle-tested tips to help you in removing urine stains from grout around toilets and help have a hygienic and odor-free home.
So, how do you remove urine stains from grout around toilets?
The first tip is to act with speed. The sooner you address urine stains, the easier they are to remove. As soon as you notice a stain, blot up as much of the urine as possible with a paper towel or cloth. Avoid rubbing, as this can spread the stain.
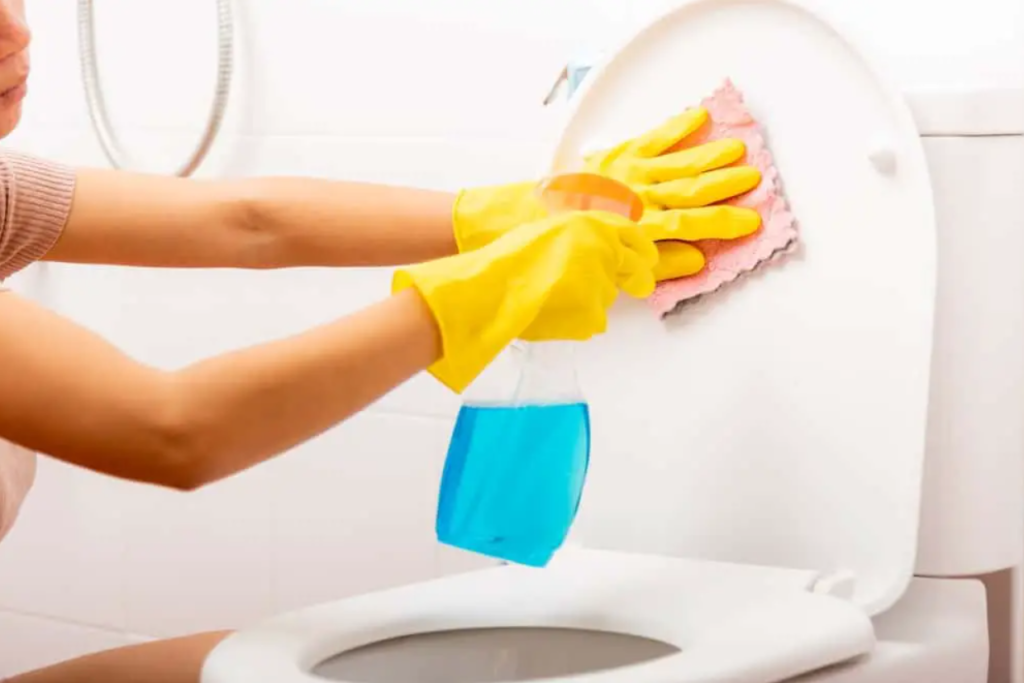
Next, invest in a good grout cleaner specifically designed for stains. Apply it to the stained grout according to the product instructions, usually by spraying or brushing it on, and let it sit for a few minutes.
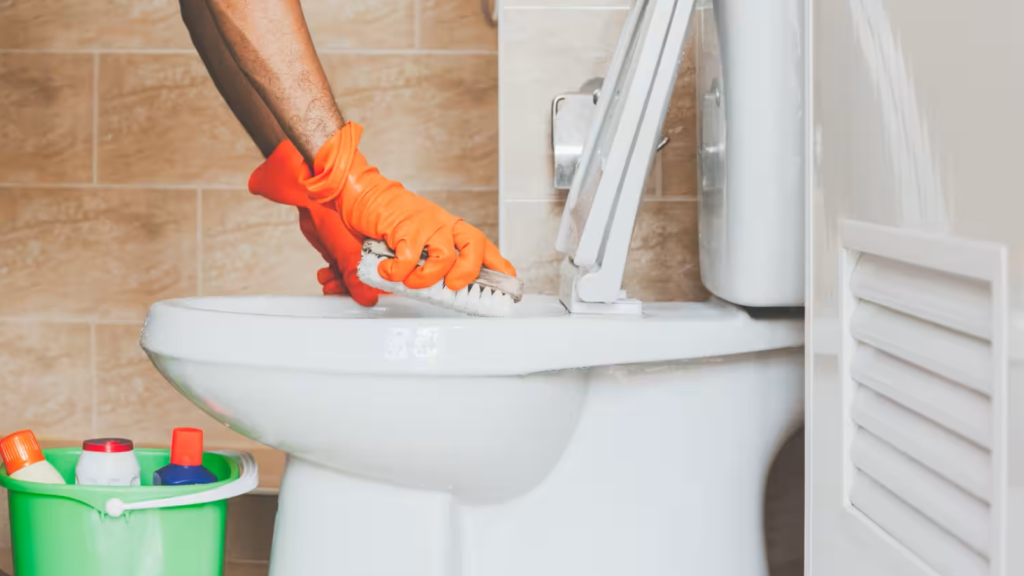
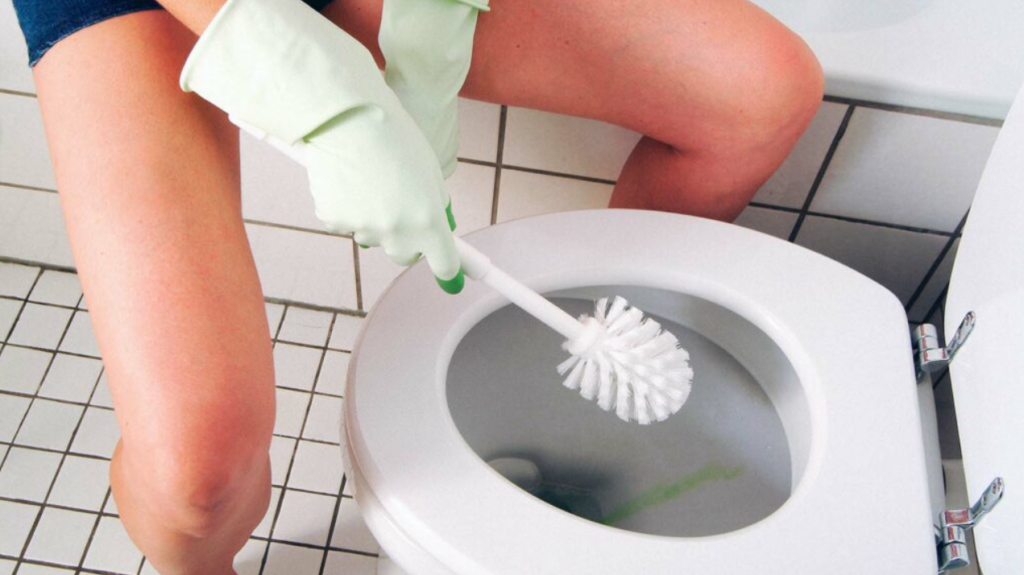
Scrub the grout with a grout brush or an old toothbrush to lift the stain. Rinse thoroughly with water and dry the area.
If the stain persists, consider using a mixture of white vinegar and water or a paste made from baking soda and water.
The Challenge Of Removing Urine Stains From Grout Around Toilets
You know the feeling when you walk into a bathroom and your eyes land on those telltale urine stains around the toilet? It’s like a game of “spot the stain” that you never signed up for.
But worry not, for this article is your trusty guide to fighting the good fight against stubborn urine stains.
Let’s be real—these stains aren’t just eyesores; they can lead to odors that could compete with the smelliest of trash cans. So, let’s dive into the nitty-gritty of cleaning those stains effectively and giving your bathroom a fresh lease on life.
Urine stains on grout are like that friend who overstays their welcome at a party—the longer they stick around, the harder they are to get rid of. You might wonder, why are they so tricky?
Well, it turns out that urine contains compounds that are more than happy to penetrate porous grout and set up camp there. But fret not, we’re not going down without a fight!
Also read: Why My Bathroom Smells Like Urine After Shower
Essential Supplies For Cleaning Urine Stains in Grout
Before you embark on your cleaning adventure, make sure you’re well-equipped. Think of yourself as a cleaning warrior, armed with gloves, goggles, a scrub brush, old towels, and a trusty bucket by your side.
If you’re keen on being eco-friendly (like me), consider swapping out harsh chemicals for household cleaning agents. They might be gentler, but trust me, they’re no less effective in this battle.
Also read: How to Clean White Film off Shower Tile: Solutions for a Sparkling Bathroom
Preparing the Area: Airing Out the Battlefield
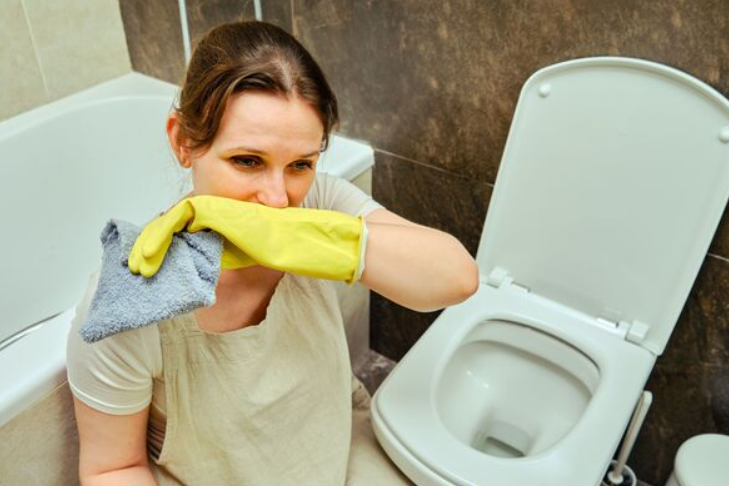
Imagine going into battle without proper armor—it’s a disaster waiting to happen. The same goes for cleaning. Ensure your bathroom is well-ventilated before you begin.
This not only prevents you from inhaling unwanted fumes but also ensures that your cleaning efforts are more effective. And hey, while you’re at it, remove any items around the toilet. It’s a dirty job, and accidental contamination is not on the guest list.
Step-by-Step Process for Removing Urine Stains from Grout Around Toilets
Step 1: Safety First
Suit up, fellow cleaner! Don your gloves and goggles like the warrior you are. Remember, we’re dealing with not just stains but potentially harmful substances, so protection is non-negotiable.
Step 2: Blotting and Absorption
Picture this: a splash, a sigh, and the dreaded stain. Quick action is your secret weapon here. Grab those old towels or paper towels and start blotting away the excess urine.
Gentle blotting, mind you, so you’re not pushing the stain deeper into the grout.
Also read: Your Arms Too Short to Wipe? Here are the Solutions

Step 3: Preparing the Cleaning Solution
Time to mix your potion! Recipes for homemade cleaning solutions are like secret scrolls, and I’m about to share some wisdom with you.
Try a mixture of white vinegar and water or the trusty baking soda paste. These mild solutions are like peacekeepers for your grout, breaking down stains without causing harm.
Also read: How to Remove Harpic Stains from Toilet Seats
Step 4: Application and Scrubbing
With your cleaning solution ready, it’s showtime. Apply it to the stained grout and give it a few minutes to work its magic.
While it’s tempting to channel your inner Hulk, remember that a soft-bristle scrub brush is your best friend here. Gently scrub those stained areas, as if coaxing a stubborn secret out of them.
Step 5: Rinsing and Drying
Rinsing off the solution is like the cleansing rain after a storm. Use clean water and a separate cloth or sponge to wipe away the cleaning solution.
And here’s a crucial step—dry the cleaned areas thoroughly. We don’t want any lingering moisture causing trouble later.
Step 6: Repeat if Necessary
Some stains are as stubborn as mules. If your first attempt didn’t send them packing, don’t despair.
Remember, persistence pays off.
Repeat the cleaning process as needed, and soon those stains will be waving the white flag.
Preventive Measures for Future Stains
An ounce of prevention is worth a pound of cure. Benjamin Franklin’s wise words hold true for bathroom cleaning too. To prevent future urine stains, make cleanliness a ritual.
Regular bathroom cleaning routines and prompt stain removal are like preventive medicine for your grout.
Also read: How to Remove Harpic Stains from Toilet Seats
Dealing with Persistent Stains: The Reinforcements
In some cases, the enemy might be too formidable for a solo mission. Don’t hesitate to call in the professionals.
Look for reliable grout cleaning services that have proven strategies. After all, every good general knows when to ask for backup.
Also read: HOROW HWMT-8733 Small Compact One Piece Toilet Review
Bonus Tips From Removing Urine Stains
Ah, my fellow cleanliness enthusiast, you’ve made it this far, and I’m delighted to reward your dedication with some extra tips to make your bathroom shine even brighter.
Time is of the Essence
In the war against stains, timing is crucial. The sooner you address a urine stain, the easier it is to eliminate.
So, the next time you spot a stain, channel your inner superhero and swoop in for immediate action.
The Power of Baking Soda and Vinegar
These household heroes deserve a standing ovation for their stain-busting capabilities.
Baking soda not only scrubs away grime but also neutralizes odors, while vinegar’s acidity breaks down tough stains.
Mix them together, and you’ve got a dynamic duo ready to conquer grout stains.
Also read: Dealing with a Toilet Brush Head Stuck in the Toilet
The Art of Grout Sealing
Once you’ve won the battle against stains, it’s time to fortify your defenses. Grout sealing is like putting up a force field against future invaders.
Invest in a quality grout sealer and apply it regularly to keep your grout stain-resistant and gleaming.
Teach Proper Aim
If you’re sharing your bathroom with little ones, consider it a parental duty to impart the art of proper toilet aim.
Not only will this save you from future stain battles, but it’s also a valuable life skill. A win-win, if you ask me!
Spread the Gospel of Cleanliness
In the spirit of teamwork, encourage everyone in your household to be a cleanliness champion.
A united front against bathroom stains is a powerful thing. Share your newfound stain-busting wisdom and inspire a cleaner, fresher home for all.
Also read: How to Protect the Floor Around Your Toilet
Conclusion
In the battle against urine stains, victory is a sparkling, fresh bathroom—a sanctuary free from unsightly marks and unpleasant odors.
By following these battle-tested tips, you’re well-equipped to tackle those stains head-on. So, suit up, gather your supplies, and let the cleaning festivities begin.
Remember, every successful cleaning endeavor is a step toward a more beautiful, hygienic, and odor-free home. You’ve got this!
Armed with these comprehensive tips and bonus tricks, you’re equipped to take on even the most stubborn urine stains with confidence.
Remember, maintaining a clean and fresh bathroom isn’t just about aesthetics—it’s about creating a hygienic and inviting space for yourself and your loved ones.
So, suit up, gear up, and embark on your journey to a bathroom that shines brighter than ever before. Cheers to a stain-free and odor-free future!
Also read: How to Protect the Floor Around Your Toilet
What are essential supplies for cleaning urine stains in grout?
Arm yourself with gloves, goggles, a scrub brush, old towels, and a bucket. For eco-friendly options, household cleaning agents can be effective. Adequate ventilation is key, so ensure your bathroom is well-aired before starting the cleaning process.
Why are urine stains on grout so challenging to remove?
Urine contains compounds that penetrate porous grout, making stains difficult to eliminate. Acting promptly upon spotting stains is crucial. The longer they persist, the more challenging they become.
How do I effectively remove urine stains from grout around toilets?
To tackle urine stains swiftly, blot the excess with towels, then use a grout cleaner or a mixture of white vinegar and water. Apply the solution, scrub with a soft brush, rinse, and thoroughly dry the area. For persistent stains, consider repeating the process or seeking professional assistance.