“How Long Before You Can Use a Shower After Sealing?” Discover the ideal waiting period and expert tips for efficient sealing processes.
Sealing your shower is an essential step in maintaining its longevity and preventing water damage.
Whether you have recently installed a new shower or renovated an existing one, the process of sealing is crucial for ensuring a watertight barrier. However, many homeowners are often left wondering how long they should wait before using the shower after sealing.
The time it takes before you can use a shower after sealing depends on the type of sealant used and the manufacturer’s recommendations.
In general, most silicone or grout sealants used in bathroom applications require a curing period of 24 to 48 hours before they are fully set and water-resistant.
However, it’s essential to read the specific product label or manufacturer’s instructions, as curing times can vary based on the brand and environmental conditions.
It’s crucial to allow the sealant to cure completely to ensure its effectiveness and longevity. Using the shower before the sealant has fully cured can compromise its water-resistant properties and may lead to premature deterioration or the need for resealing.

1. Why is Shower Sealing Important?
Shower sealing is a vital aspect of bathroom maintenance for several reasons. Firstly, it prevents water from seeping into the surrounding walls and floors, which can lead to costly water damage and mold growth.
Secondly, a properly sealed shower keeps moisture from infiltrating the grout lines and tiles, preventing them from deteriorating and reducing the likelihood of unsightly stains. Lastly, sealing your shower enhances its overall appearance and makes it easier to clean and maintain in the long run.

2. Types of Sealants for Showers
Before delving into the time frames for using a shower after sealing, let’s explore the different types of sealants available:
2.1 Silicone Sealants
Silicone sealants are the most commonly used type for shower sealing. They offer excellent water resistance, flexibility, and adhesion to a wide range of surfaces.
Silicone sealants are available in various colors to match your bathroom decor and can withstand exposure to moisture and temperature fluctuations.
2.2 Acrylic Sealants
Acrylic sealants are water-based and are also suitable for sealing showers. They are easy to apply and clean up, making them a popular choice for DIY enthusiasts.
However, acrylic sealants may not have the same level of durability and water resistance as silicone sealants.
Also Read: How To Get Rid Of Mold In The Bathroom
2.3 Polyurethane Sealants
Polyurethane sealants are known for their exceptional durability and resistance to chemicals and abrasion. While they offer excellent waterproofing properties, they tend to be more expensive than silicone and acrylic sealants.

3. Drying and Curing Time for Shower Sealants
The drying and curing time for shower sealants can vary depending on the type of sealant used and the environmental conditions. Understanding these time frames is crucial to ensure the sealant sets properly before you start using the shower.
3.1 Drying Time
The drying time refers to the period it takes for the outer layer of the sealant to become dry to the touch. This time can range from a few hours to 24 hours, depending on the sealant type and humidity levels.
Always refer to the manufacturer’s guidelines to determine the specific drying time for the sealant you are using.
3.2 Curing Time
The curing time is the duration it takes for the sealant to reach its full strength and effectiveness. While the outer layer may feel dry, the sealant may still be vulnerable during the curing process.
Typically, the curing time for most sealants ranges from 24 to 48 hours. However, it’s essential to avoid subjecting the sealed area to excessive moisture or stress during this period.
Also Read: How to Protect the Floor Around Your Toilet
4. Factors Affecting Drying and Curing Time
Several factors can influence the drying and curing time of shower sealants. Being aware of these factors will help you plan and ensure a successful sealing job:
4.1 Temperature and Humidity
Temperature and humidity play a significant role in the drying and curing process of sealants. Higher temperatures and lower humidity levels generally expedite the drying and curing time. On the other hand, colder temperatures and higher humidity may prolong the process.

4.2 Sealant Type and Brand
Different types and brands of sealants have varying formulations, which can affect their drying and curing time. Always follow the manufacturer’s instructions and recommendations for optimal results.
4.3 Thickness of Sealant Application
The thickness of the applied sealant layer can also impact the drying and curing time. Applying a thick layer may result in a longer curing time, while a thin layer may dry more quickly.
4.4 Ventilation
Adequate ventilation in the bathroom can help expedite the drying process. Improved airflow reduces the moisture in the air, aiding the sealant in setting faster.

5. Best Practices for Shower Sealing
To ensure a successful shower sealing job and minimize the waiting time before using the shower, follow these best practices:
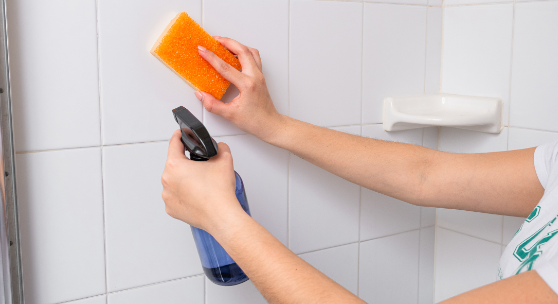
5.1 Clean and Prepare the Surface
Before applying the sealant, thoroughly clean and dry the shower surface. Remove any existing sealant residue, grime, or soap scum. A clean surface ensures better adhesion and effectiveness of the new sealant.
5.2 Choose the Right Sealant
Select a high-quality sealant that suits your shower’s material and your specific requirements. As mentioned earlier, silicone sealants are the most common choice for shower sealing due to their water resistance and flexibility.

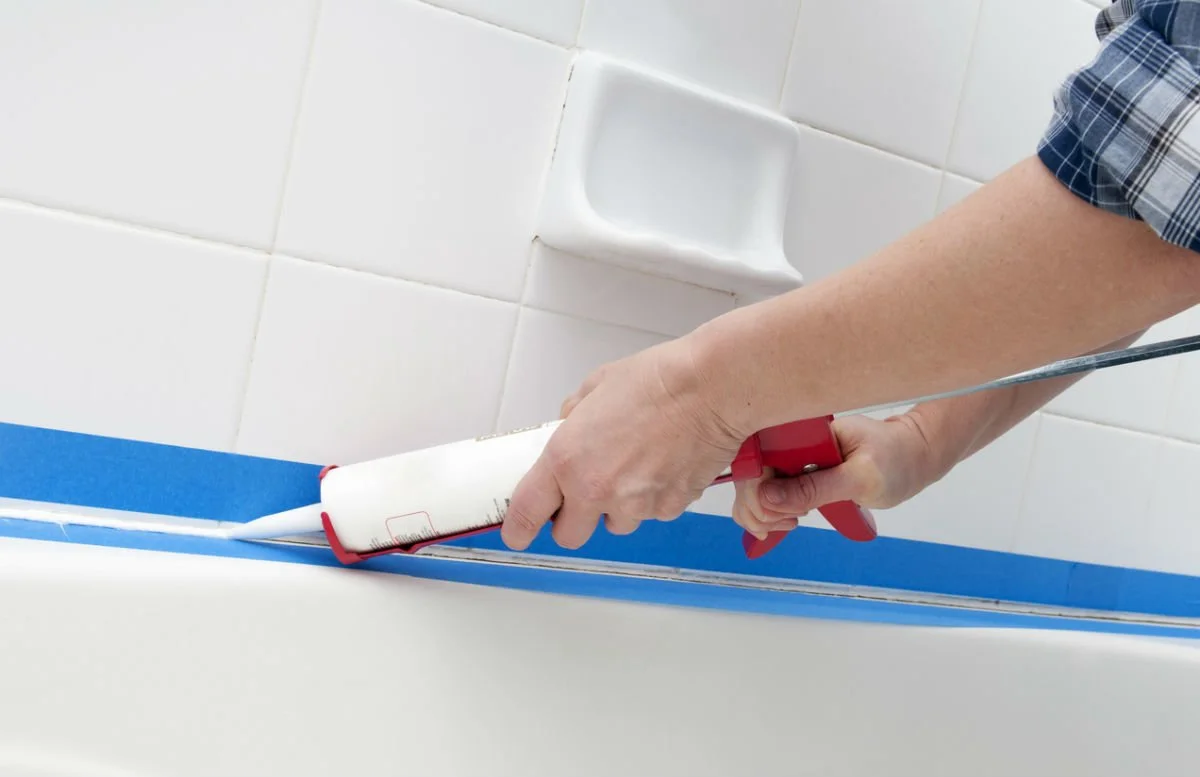
5.3 Apply the Sealant Properly
Follow the manufacturer’s instructions for applying the sealant. Use a caulking gun for precise and even application. Avoid excessive application, as it may lead to longer drying and curing times.
5.4 Be Patient
Patience is key when it comes to shower sealing. Avoid using the shower until the sealant has fully dried and cured, even if the surface feels dry to the touch. Rushing the process may compromise the effectiveness of the sealant.
Also Read: Distance from Wall to Toilet Flange
5.5 Regular Maintenance
After the sealant has fully cured, make it a habit to inspect your shower regularly for any signs of wear or damage. Attend to any cracks or gaps promptly and reapply sealant as needed to maintain a watertight barrier.
Conclusion
Shower sealing is a critical step in bathroom maintenance that ensures the longevity and functionality of your shower.
The drying and curing time for shower sealants can vary based on several factors, including temperature, humidity, sealant type, and application thickness.
By following the best practices and being patient during the sealing process, you can ensure an effective and long-lasting seal.
Remember to choose the right type of sealant for your shower’s material and always refer to the manufacturer’s guidelines for optimal results.
Taking these measures will not only protect your shower from water damage but also contribute to a clean, aesthetically pleasing bathroom environment for years to come.