When it comes to bathroom remodeling or designing a new bathroom, choosing the right materials is crucial. Among the various options available for flooring and wall coverings, vinyl flooring has gained popularity due to its durability, affordability, and ease of maintenance.
But can you extend the use of vinyl flooring beyond the floors and apply it to your shower walls as well?
In this article, we’ll explore the feasibility of using vinyl flooring for shower walls, discussing the pros, cons, and practical solutions to help you make an informed decision for your bathroom project.
Understanding Vinyl Flooring
Bathrooms are spaces that demand functionality and aesthetics.
Homeowners and designers alike are continually on the lookout for innovative and cost-effective solutions for bathroom renovations and designing new bathrooms.
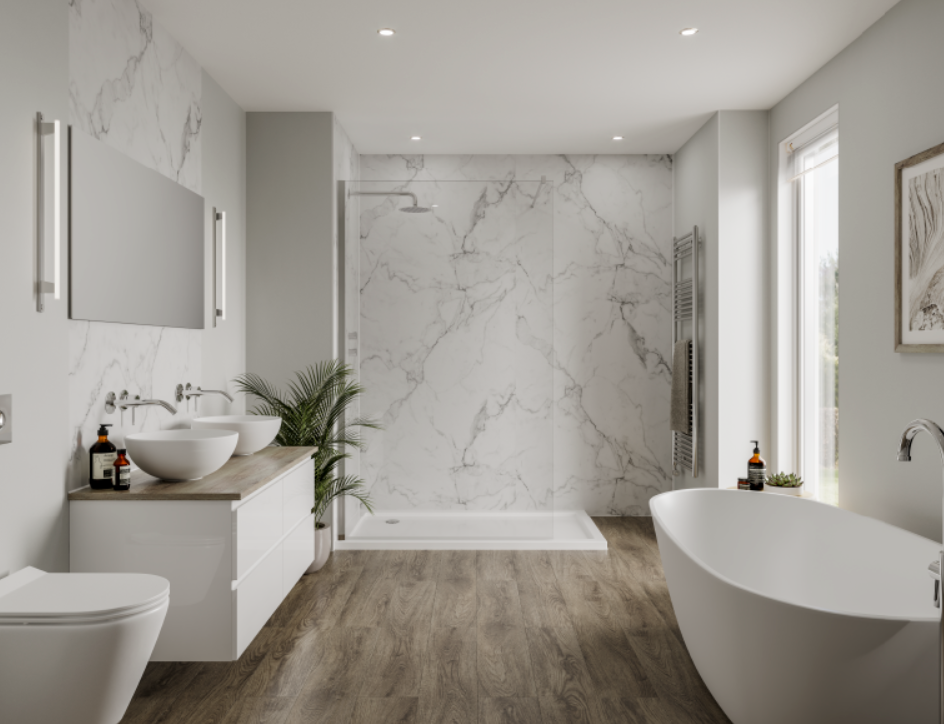
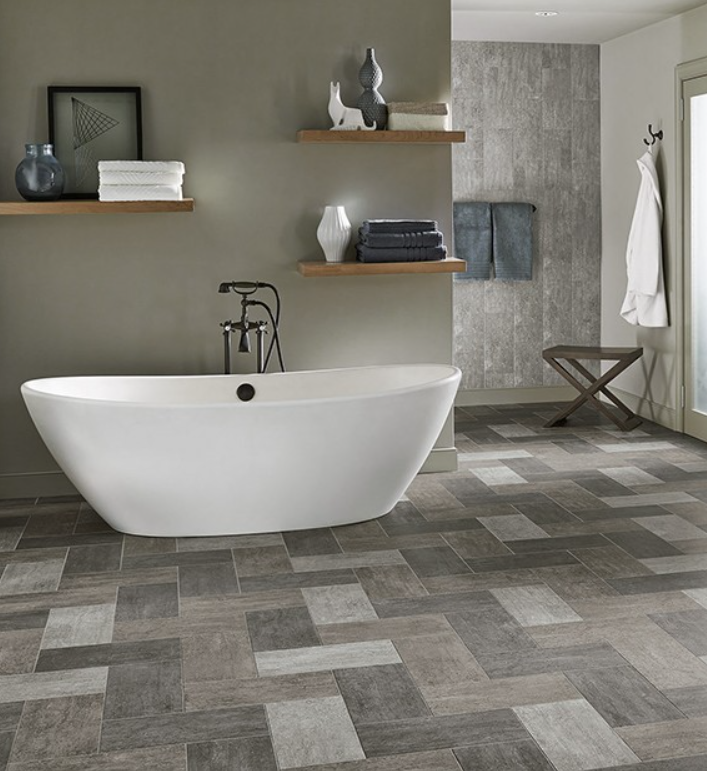
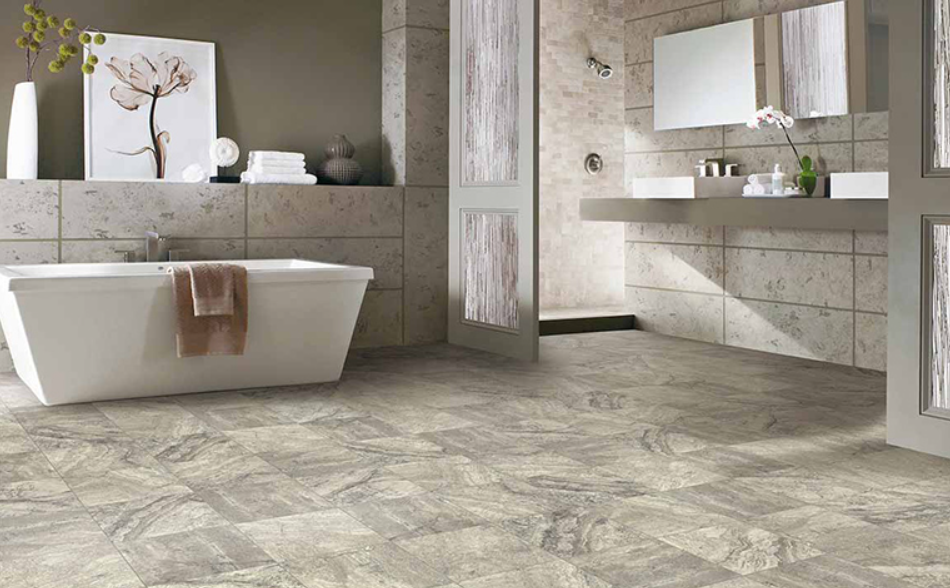
Vinyl flooring has long been a popular choice for bathroom floors, but what about using it for shower walls? Before we explore its use on shower walls, let’s take a deeper look at what vinyl flooring is.
Vinyl flooring is a synthetic flooring material made primarily from polyvinyl chloride (PVC) resin, which is combined with various additives to enhance its properties.
It comes in several forms, including vinyl sheets, tiles, and luxury vinyl planks (LVP). Vinyl flooring has gained popularity over the years due to its versatility, water resistance, and low maintenance requirements.
Also read: Remodeling Your Bathroom: Navigating the Permits Conundrum
Advantages of Using Vinyl Flooring for Shower Walls
Here are the key benefits of using vinyl flooring for shower walls:
Water-Resistant Properties
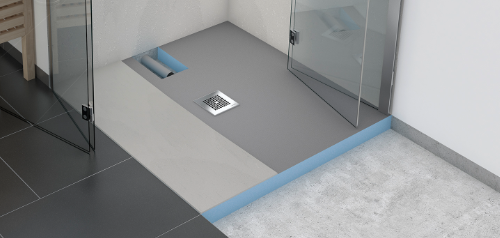
One of the most significant advantages of vinyl flooring is its inherent water resistance. Vinyl is naturally impervious to water, making it a suitable material for areas prone to moisture, such as bathrooms.
This water resistance gives homeowners the confidence to consider using vinyl for their shower walls as well.
Also read: Can You Use Vinyl Flooring for Shower Walls?
Easy Maintenance
Vinyl is known for its ease of cleaning and maintenance. Its smooth, non-porous surface doesn’t allow water and soap scum to accumulate easily, making it convenient to keep the shower walls clean and looking new for an extended period.
Variety of Designs
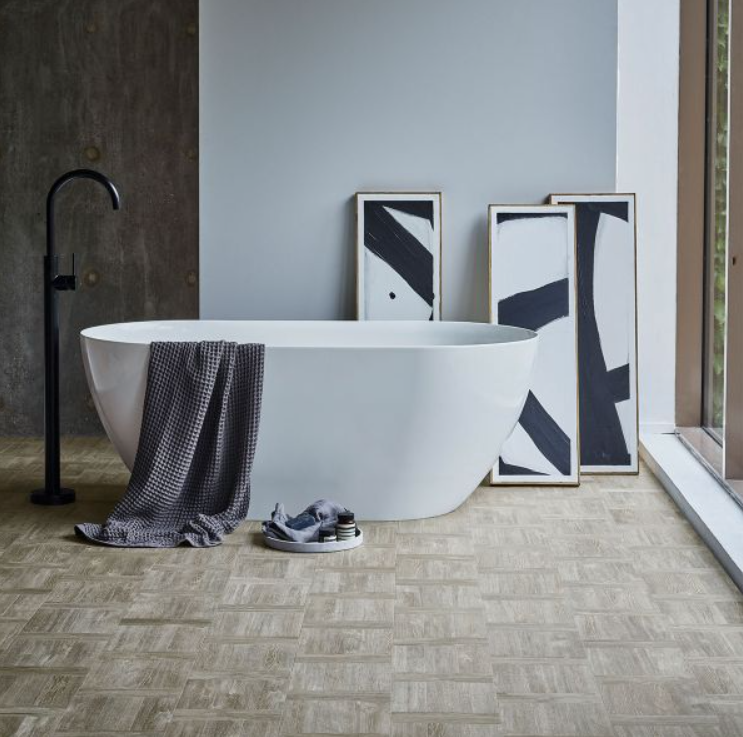
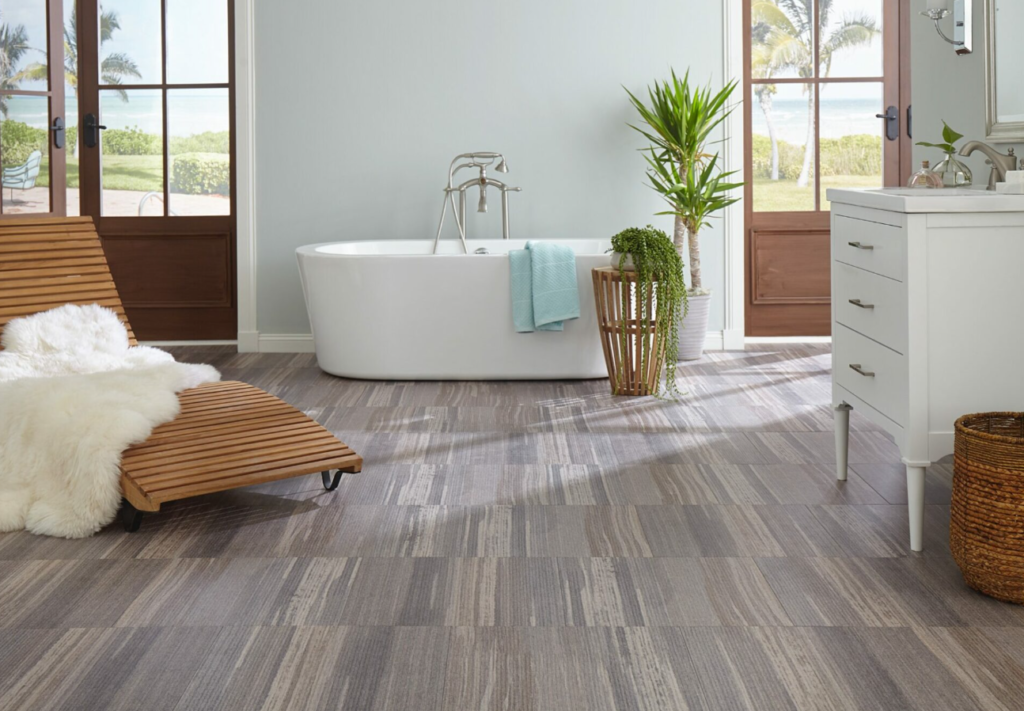
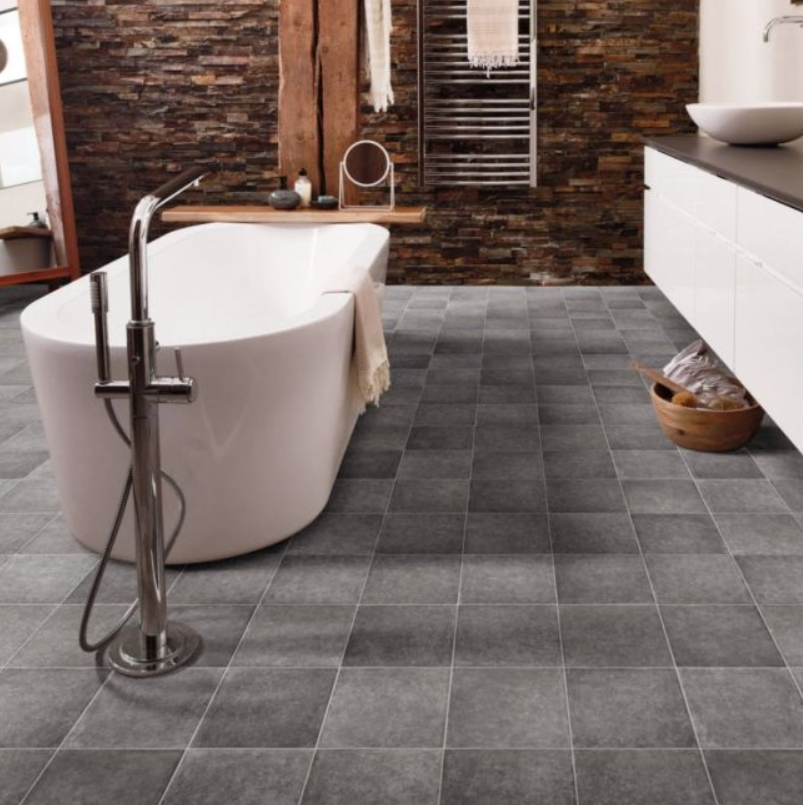
Vinyl comes in a wide range of designs, patterns, and colors, offering homeowners the flexibility to match their shower walls with the overall bathroom theme.
Whether you prefer a classic or modern look, vinyl has an option to suit your style.
Cost-Effective
Compared to other wall covering materials like ceramic tiles or natural stone, vinyl flooring tends to be more budget-friendly.
This cost-effectiveness can be particularly appealing to those on a tight renovation budget.
DIY Friendly
Many vinyl tiles are designed to be user-friendly and easy to install, even for DIY enthusiasts. This opens up the possibility for homeowners to take on the project themselves, saving additional costs on professional installation.
Also read: Why Did My Toilet Seat Turn Yellow After Bleaching?
Challenges and Considerations
While vinyl flooring offers several advantages for shower walls, there are also some challenges and considerations that need to be addressed:
Also read: Effective Tips for Removing Urine Stains from Grout Around Toilets
Durability
One of the main concerns when using vinyl flooring for shower walls is its durability.
While vinyl is durable on bathroom floors, its performance on shower walls may vary due to constant exposure to water, heat, and steam.
Proper installation and choosing high-quality vinyl are crucial to ensure its longevity in this application.
Adhesion Issues
Vinyl’s water-resistant properties can make it difficult for adhesive to bond effectively with the shower walls. If the adhesive bond is weak, there is a risk of the vinyl peeling or lifting over time.
This could result in a compromised installation and potential water damage behind the vinyl.
Potential Mold and Mildew
If vinyl is not installed correctly or the seams are not adequately sealed, water can seep behind the material, creating a moist environment conducive to mold and mildew growth.
Proper waterproofing measures are essential to prevent these issues.
Aesthetic Limitations
Despite the variety of designs available, vinyl may not offer the same high-end look and feel as certain tile or natural stone options for shower walls.
Some homeowners may prefer the aesthetic of other materials for their shower spaces.
Long-Term Performance
Over time, exposure to heat and moisture may cause some vinyl materials to degrade, impacting the appearance and structural integrity of the shower walls.
Homeowners should be aware of the expected lifespan of the vinyl they choose and how it will hold up to daily shower use.
Also read: The Surprising Benefits of Placing a Red Cup Under Your Toilet Seat
Waterproofing and Moisture Protection
To address the challenges associated with using vinyl flooring for shower walls, it is crucial to implement effective waterproofing and moisture protection measures.
Also read: How Long Should a Roll of Toilet Paper Last?
Here are some practical solutions to ensure the longevity and performance of vinyl in this application:
High-Quality Vinyl Selection
Opt for high-quality vinyl that is explicitly designed and rated for wet areas and showers. Look for vinyl products with a robust wear layer and a warranty covering moisture-related issues.
Investing in top-tier vinyl will provide added peace of mind and reduce the risk of premature wear and damage.
Proper Surface Preparation
Before applying the vinyl, ensure that the shower walls are smooth, clean, and free from any debris or old adhesive.
Proper surface preparation will enhance the adhesion of the vinyl and promote a more secure installation.
Sealing Seams and Edges
Pay extra attention to sealing the seams and edges of the vinyl to prevent water infiltration.
The use of a waterproof adhesive and silicone caulk will create a watertight barrier and minimize the risk of water damage behind the vinyl.
Backing and Substrate
Consider using a water-resistant backing or substrate behind the vinyl to provide an extra layer of protection against moisture.
Materials such as cement board or waterproof drywall can help enhance the overall waterproofing of the shower walls.
Regular Maintenance
After completing the installation, homeowners should perform regular checks on the vinyl shower walls, especially around seams and edges, to ensure there are no signs of water damage or mold growth.
Promptly address any issues that arise to prevent them from escalating into more significant problems.
Also read: Bath Fitter Mold Issues: Understanding, Preventing, and Resolving the Problem
Installation Process for Vinyl Shower Walls
Installing vinyl on shower walls requires careful execution to ensure a water-tight and visually appealing result. Here’s a step-by-step guide for proper vinyl installation in a shower:
Measure and Prepare
Measure the shower walls accurately, taking into account any cutouts for fixtures and accessories. Purchase enough vinyl to cover the entire area, including any waste from trimming.
Prepare the walls by removing any existing material, repairing any imperfections, and ensuring they are clean and dry before starting the installation.
Apply Adhesive
Use a suitable waterproof adhesive recommended by the vinyl manufacturer. Apply the adhesive evenly on the backside of the vinyl and press it firmly onto the shower wall, starting from the center and working outward.
Ensure that the adhesive covers the entire surface of the vinyl, including the edges and corners.
Trimming and Sealing
Once the vinyl is securely adhered to the wall, trim the excess material at the edges and seams. Use a sharp utility knife or vinyl cutter for precise cuts.
After trimming, seal all the seams and edges with silicone caulk to prevent water penetration. The caulk should match the color of the vinyl or complement the overall bathroom design.
Allow for Proper Drying Time
Follow the manufacturer’s guidelines for drying time before exposing the vinyl shower walls to water and moisture.
Premature exposure to water can compromise the adhesive bond and lead to peeling or lifting.
Final Inspection
After the adhesive has fully cured, conduct a final inspection of the vinyl shower walls. Check for any installation issues, such as loose edges or corners.
Make any necessary adjustments and reapply adhesive or caulk as needed before regular use.
Also read: What Happens If You Flush a Frog Down the Toilet?
Maintenance and Cleaning Tips
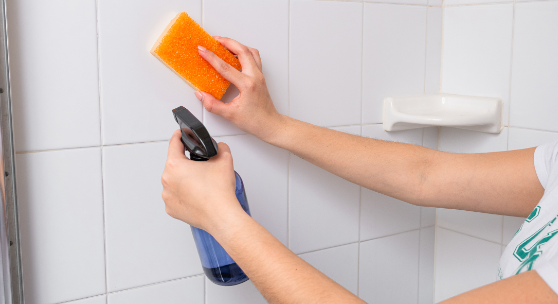
Proper maintenance is essential to extend the lifespan and appearance of vinyl shower walls. Follow these tips for cleaning and caring for your vinyl walls:
Regular Cleaning
Clean the vinyl walls regularly with a mild soap or a vinyl-safe cleaner to remove soap scum, water stains, and other residue. Avoid using abrasive or harsh chemicals, as they can damage the vinyl surface.
Gentle Scrubbing
If you encounter stubborn stains, use a soft-bristled brush or sponge for gentle scrubbing. Avoid using abrasive pads or scrub brushes that can scratch the vinyl.
Avoid Harsh Chemicals
Harsh chemicals, like bleach or ammonia-based cleaners, can degrade the vinyl’s protective layer and alter its appearance. Stick to gentle cleaning solutions to preserve the vinyl’s longevity.
Quick Drying
After each shower, wipe down the vinyl walls with a dry cloth or towel to remove excess water and minimize moisture accumulation. This practice will help prevent water spots and reduce the risk of mold and mildew growth.
Periodic Inspection
Periodically inspect the seams and edges of the vinyl shower walls for any signs of wear, damage, or water infiltration. Address any issues promptly to prevent further damage and to maintain the integrity of the installation.
Also read: Choosing the Right Size Allen Wrench for Your Toilet Paper Holder
Alternatives to Vinyl for Shower Walls
If you’re hesitant about using vinyl for your shower walls or are looking for other design options, consider these alternatives:
Ceramic or Porcelain Tiles
Ceramic and porcelain tiles are a classic choice for shower walls. They offer a wide variety of design options, excellent water resistance, and exceptional durability.
Also read: Which is The Best for The bathroom- A glass or an Acrylic Partition
Natural Stone
Natural stone tiles, such as marble, granite, or slate, add a touch of luxury and sophistication to the bathroom. Properly sealed, they are highly resistant to water and stains.
Fiberglass Panels
Fiberglass panels are specifically designed for shower enclosures and provide excellent water resistance and easy maintenance. They are often available in various colors and patterns to suit different bathroom styles.
Acrylic Sheets
Acrylic sheets are a popular option for modern bathrooms. They offer a sleek and contemporary look, are easy to install, and come in various finishes and colors.
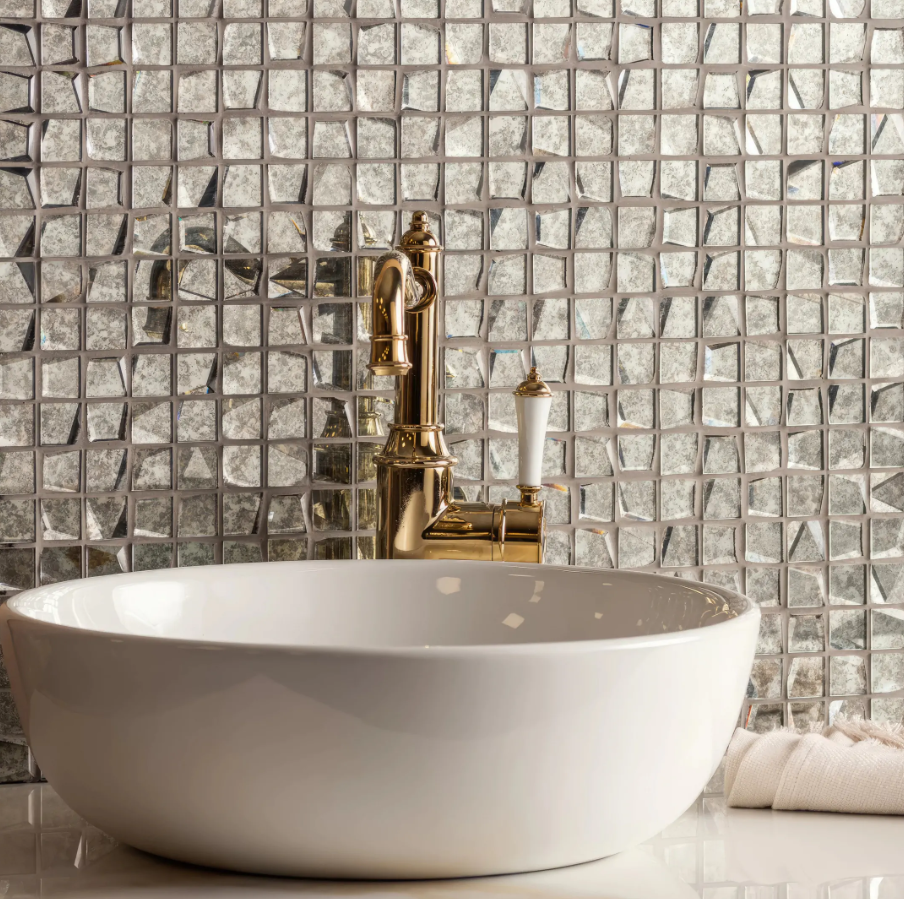
Glass Tiles or Mosaics
Glass tiles or mosaics can create stunning visual effects in the shower. They are resistant to water and stains, making them an attractive option for both small accents and full wall coverings.
Also read: No More Struggle: A Guide to Effortless Toilet Bolt Caps Removal
Wrapping Up
Using vinyl flooring for shower walls is a feasible option with the right materials, installation techniques, and maintenance practices.
Its water-resistant properties, ease of maintenance, and cost-effectiveness make it an attractive choice for homeowners looking to upgrade their bathrooms on a budget.
However, it is essential to carefully consider the potential challenges, such as adhesion and long-term performance, and to implement proper waterproofing measures.
If you prefer a more traditional or upscale look, exploring alternatives like ceramic tiles or natural stone may better align with your design preferences.
In the end, the choice between vinyl and other materials depends on your budget, style preferences, and willingness to follow proper installation and maintenance guidelines.
Always consult with a professional if you have any doubts or concerns about the materials and methods suitable for your specific shower project.
With proper planning and execution, vinyl can be a practical and visually appealing solution for your shower walls.
Also read: Why Is My Toilet Water Blue?
Can vinyl be a practical and visually appealing solution for shower walls?
Yes, with proper planning and execution, vinyl can be a practical and visually appealing solution for shower walls. High-quality vinyl, proper installation techniques, and regular maintenance are key to ensuring its longevity and performance in this application.
What factors should I consider when choosing between vinyl and other materials for shower walls?
Consider your budget, style preferences, and willingness to follow proper installation and maintenance guidelines. If you prefer a traditional or upscale look, alternatives like ceramic tiles or natural stone may better align with your design preferences.
Should I consult with a professional for using vinyl on shower walls?
Yes, consulting with a professional is advisable, especially if you have doubts or concerns about materials and methods suitable for your specific shower project. They can provide expert advice based on your requirements.
Can vinyl flooring be used on shower walls?
Yes, vinyl flooring can be used on shower walls. Its water-resistant properties, ease of maintenance, variety of designs, and cost-effectiveness make it a feasible choice for homeowners looking to upgrade their bathroom walls.